Jul 29, 2026 • TUTORIAL
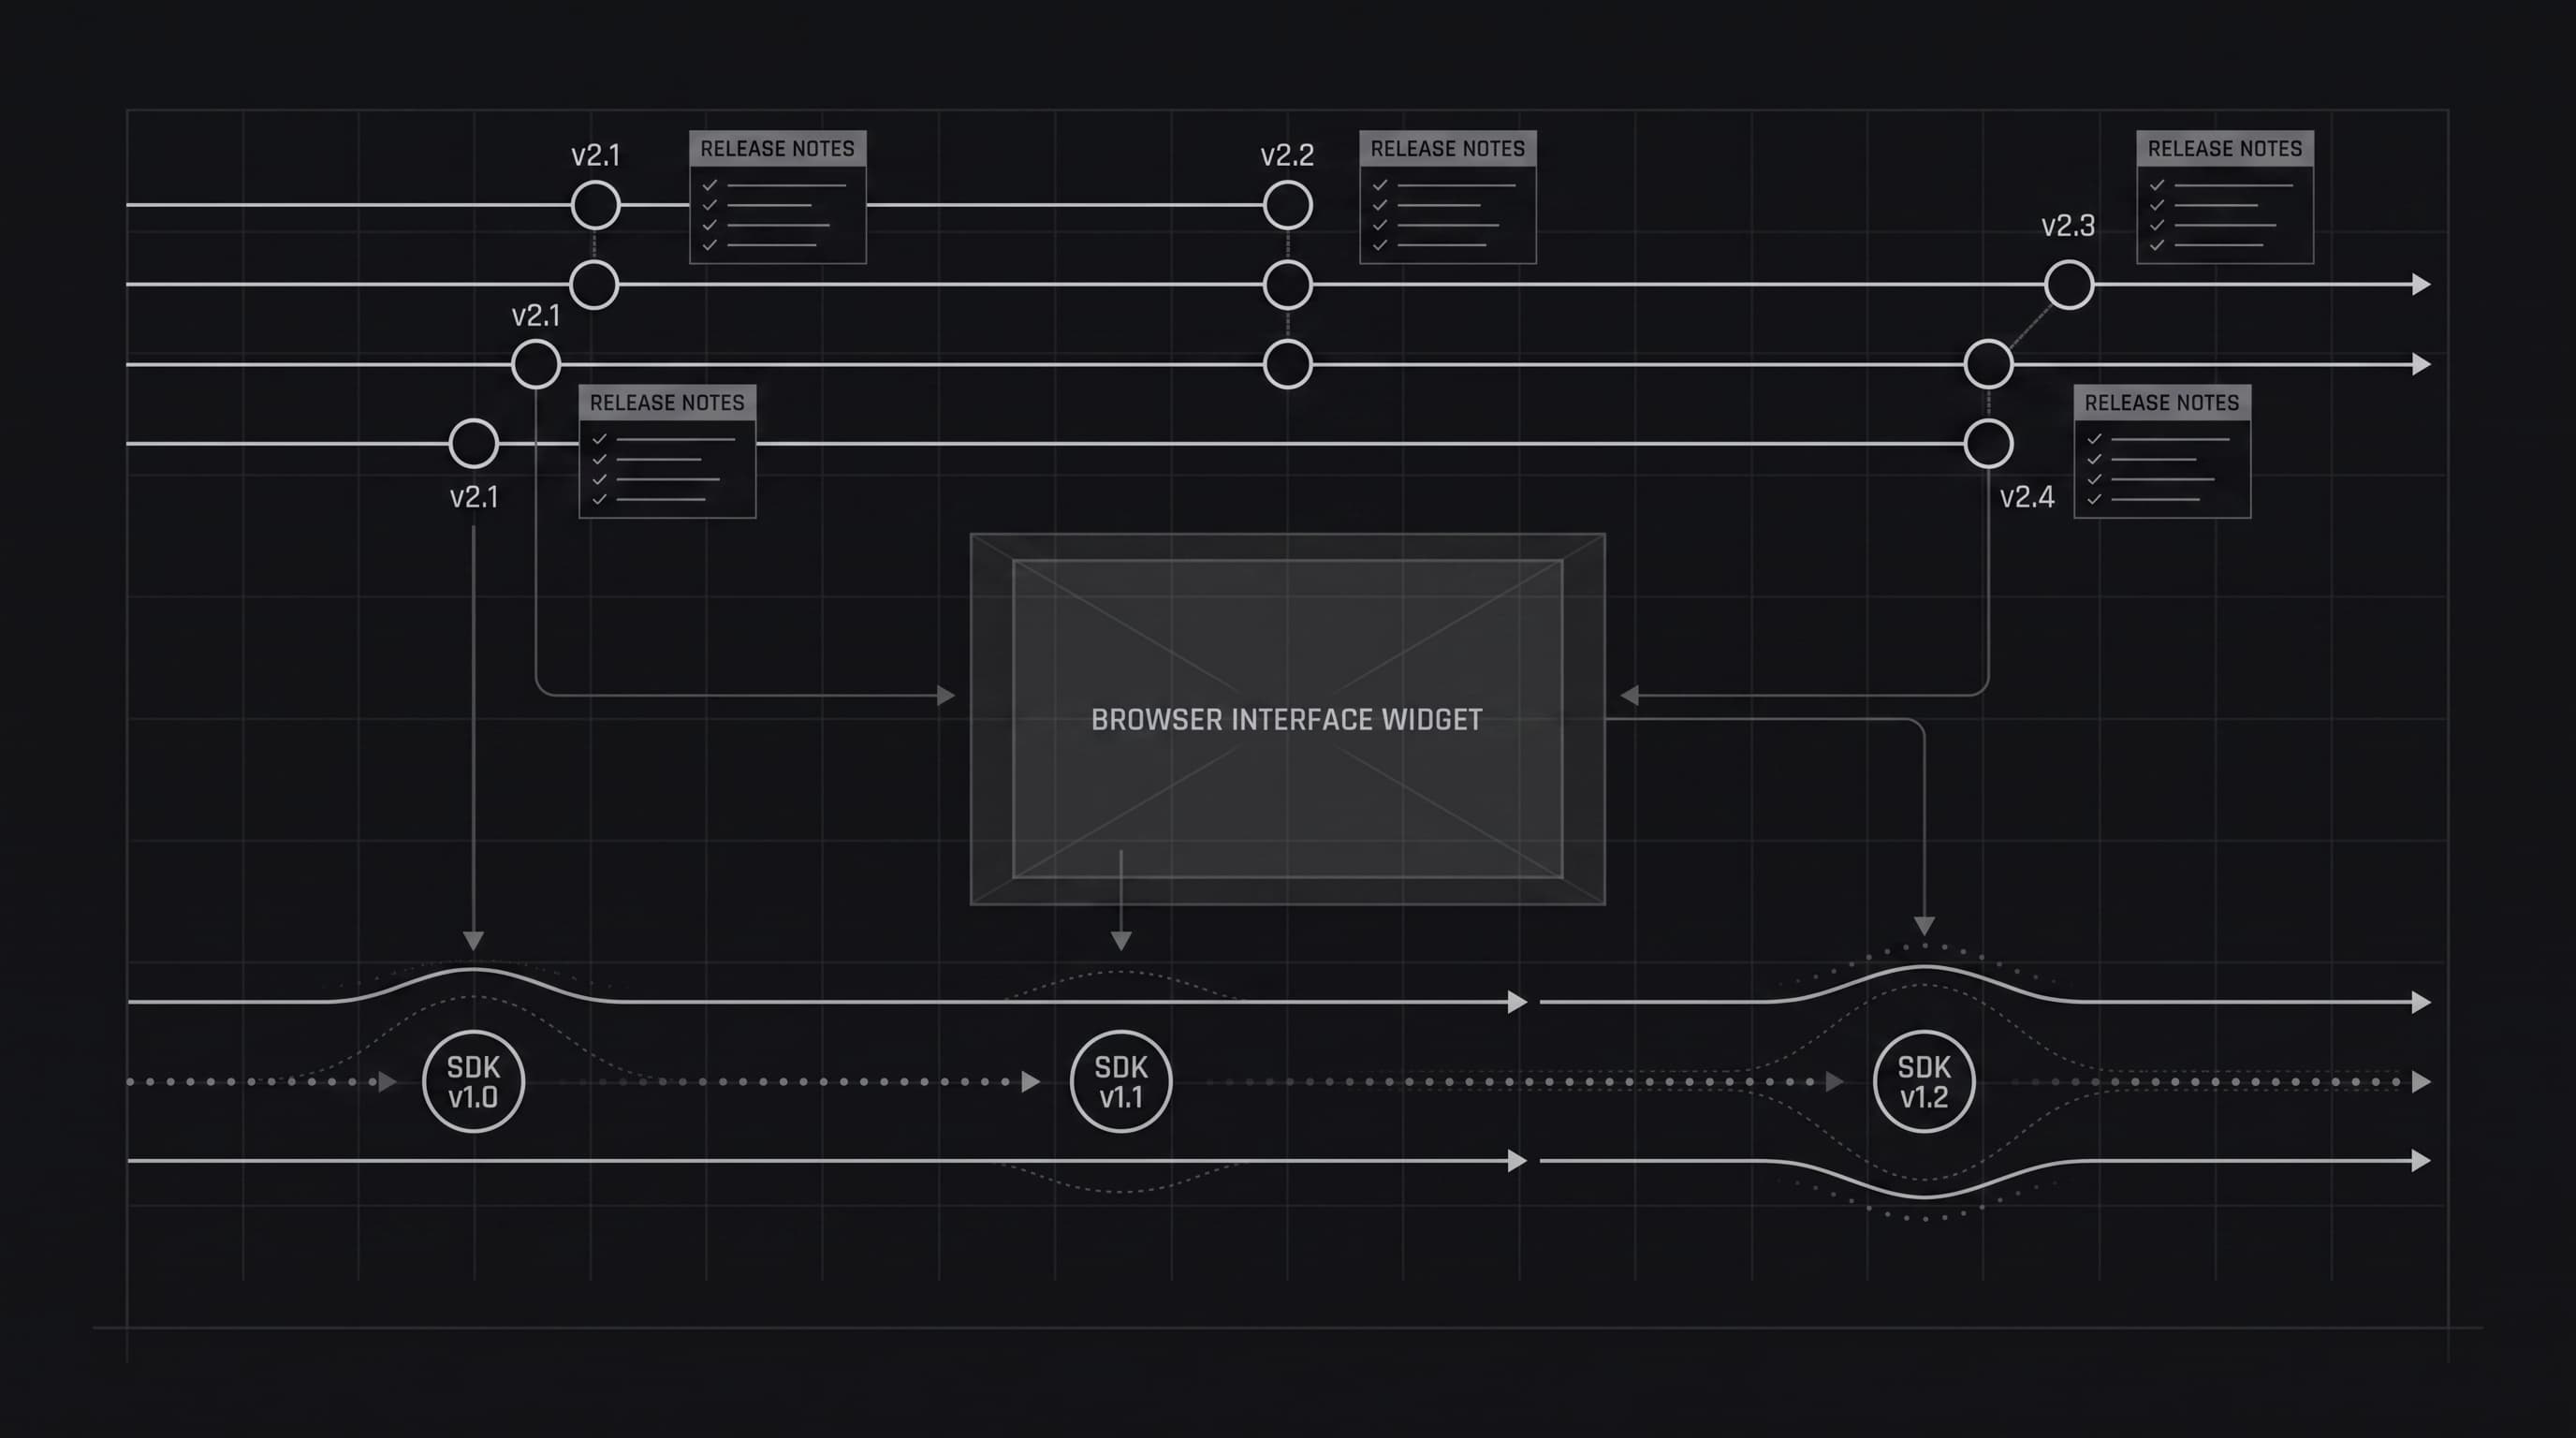
Your Onset page already hosts your release notes, and the widget puts them inside your app. Sometimes you want them rendered by your own code instead, on a /changelog route with your layout, your fonts and your nav, indexed by Google on your own domain.
That's what @onsetio/browser is for. It's a small, typed client for the public JSON feed of your Onset page. It reads the same data your page already serves, so there are no keys or tokens to manage.
Here's the whole setup in a Next.js App Router project.
npm install @onsetio/browserThen create a client with the hostname of your Onset page. That's yoursubdomain.onset.io, or your custom domain if you've set one up:
import OnsetBrowserClient from '@onsetio/browser';

export const onset = new OnsetBrowserClient('releases.example.com');
Pass the bare hostname, not a full URL. The client appends the feed paths itself.
Server Components make this almost boring. Fetch at render time, get static HTML:
import Link from 'next/link';

import { onset } from '@/lib/onset';

export const revalidate = 3600; // rebuild at most once an hour

export default async function ChangelogPage() {
  const releases = await onset.releases.fetch();

  return (
    <main className="mx-auto max-w-2xl py-16">
      <h1 className="text-3xl font-semibold">What's new</h1>

      {releases.map((release) => (
        <article key={release.id} className="border-b py-8">
          <time
            dateTime={release.released_at}
            className="text-sm text-gray-500"
          >
            {new Date(release.released_at).toLocaleDateString()}
          </time>

          <h2 className="mt-2 text-xl font-medium">
            <Link href={`/changelog/${release.slug}`}>{release.title}</Link>
          </h2>

          {release.version && (
            <span className="text-sm text-gray-500">v{release.version}</span>
          )}

          <p className="mt-3 text-gray-700">{release.summary}</p>

          <ul className="mt-4 flex gap-2">
            {release.labels.map((label) => (
              <li
                key={label.id}
                className="rounded px-2 py-0.5 text-xs"
                style={{ backgroundColor: label.color }}
              >
                {label.name}
              </li>
            ))}
          </ul>
        </article>
      ))}
    </main>
  );
}
releases.fetch() returns newest first, fully typed as Release[]. Every field you see in the editor is on the object: title, summary, description (HTML), description_text (plain text), version, is_pre_release, is_pinned, hero_image, hero_video, labels, project, and change_list. That last one holds the grouped Added / Fixed / Improved entries, each with its own type, color, title and description.
Filter by slug with the second argument, and pre-render every release at build time:
import { notFound } from 'next/navigation';

import { onset } from '@/lib/onset';

export const revalidate = 3600;

export async function generateStaticParams() {
  const releases = await onset.releases.fetch();
  return releases.map((release) => ({ slug: release.slug }));
}

export default async function ReleasePage({
  params,
}: {
  params: Promise<{ slug: string }>;
}) {
  const { slug } = await params;
  const [release] = await onset.releases.fetch(undefined, slug);

  if (!release) notFound();

  return (
    <article className="prose mx-auto py-16">
      {release.hero_image && <img src={release.hero_image} alt="" />}
      <h1>{release.title}</h1>

      <div dangerouslySetInnerHTML={{ __html: release.description }} />

      {release.change_list.map((change, i) => (
        <section key={i}>
          <h3 style={{ color: change.color }}>{change.title}</h3>
          <div dangerouslySetInnerHTML={{ __html: change.description }} />
        </section>
      ))}
    </article>
  );
}
Two notes on that.
description is HTML produced by the Onset editor, so dangerouslySetInnerHTML is the intended way to render it. It's your own team's content, but if you accept releases from a wide group of contributors, run it through a sanitizer like isomorphic-dompurify first. If you'd rather not deal with HTML at all, description_text gives you the plain-text version.
Filtering happens client-side in the SDK: fetch() pulls the full feed and then narrows it. That's fine for a changelog with a few hundred entries, and it means generateStaticParams and the page body hit the same cached response. If your feed is genuinely large, fetch once in a shared function and pass the result down.
export const revalidate = 3600 gets you a static page that refreshes hourly. Good enough for most teams. If you want the changelog live the moment you hit publish, add a webhook.
In Onset, go to Settings → Webhooks, point it at your app, and copy the signing secret:
import { revalidatePath } from 'next/cache';
import crypto from 'node:crypto';

export async function POST(request: Request) {
  const raw = await request.text();
  const signature = request.headers.get('onset-signature') ?? '';

  const expected = crypto
    .createHmac('sha256', process.env.ONSET_WEBHOOK_SECRET!)
    .update(raw)
    .digest();
  const received = Buffer.from(signature, 'hex');

  if (
    expected.length !== received.length ||
    !crypto.timingSafeEqual(expected, received)
  ) {
    return new Response('Invalid signature', { status: 401 });
  }

  const payload = JSON.parse(raw);

  // Reject replays.
  if (Math.abs(Date.now() - Number(payload.webhookTimestamp)) > 60_000) {
    return new Response('Stale webhook', { status: 401 });
  }

  revalidatePath('/changelog');
  revalidatePath('/changelog/[slug]', 'page');

  return new Response('OK');
}
Always verify against the raw body. Re-stringifying the parsed JSON changes the bytes and the signature won't match.
The SDK is the right call when you want the content inside your own pages: a marketing /changelog, an in-app "What's new" screen you fully control, an email digest generated at build time.
If you just want a notification badge and a slide-out panel, the widget does that in one script tag and handles read state, targeting and unread counts for you. Plenty of teams run both: widget for the badge, SDK for the public page.
Working example lives in examples/nextjs-releases. Clone it, swap the hostname for your page, and you'll have your own release notes rendering locally in about a minute.
Want to see Onset in action? Try it for free today. No credit card required.
Get startedWe use cookies to understand how you use our site and to improve your experience. Analytics cookies are only set once you accept. See our Privacy Policy for details.